
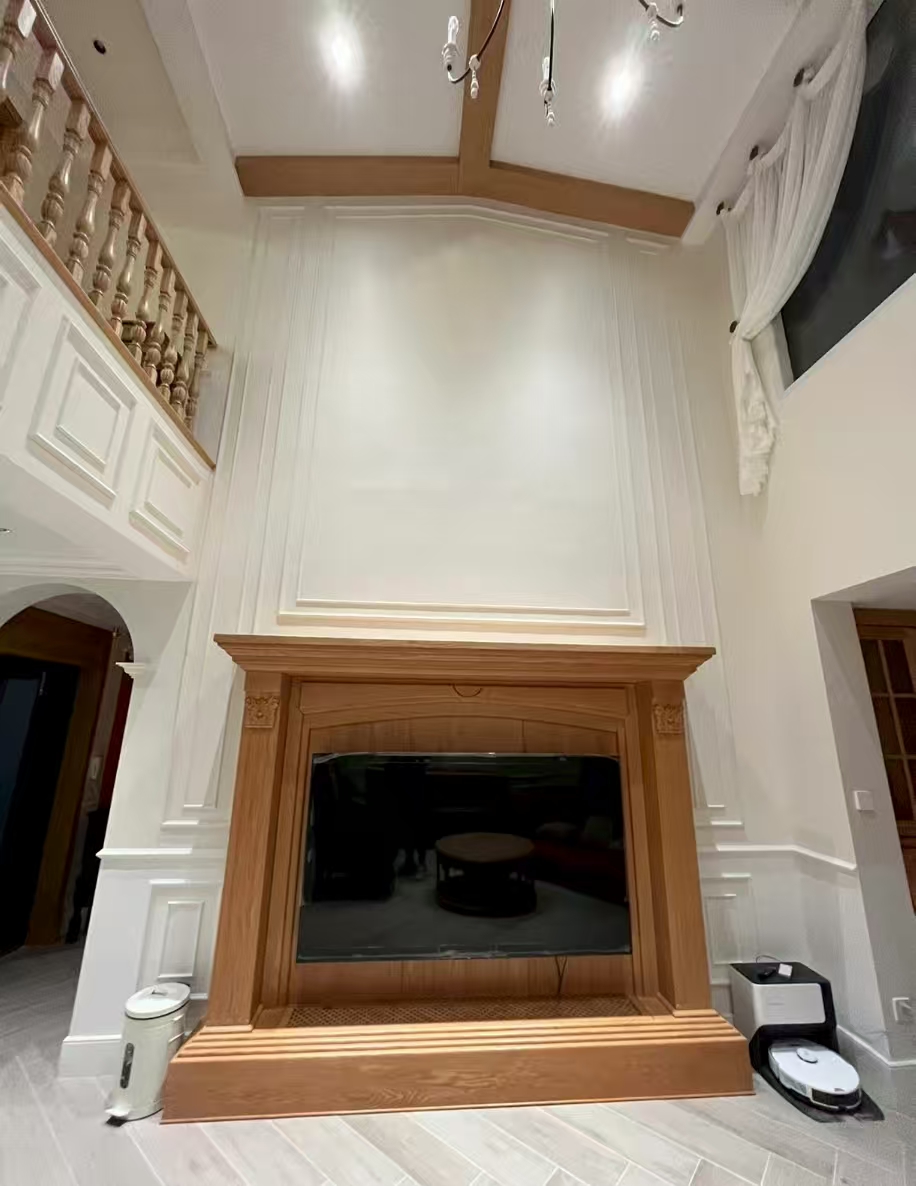
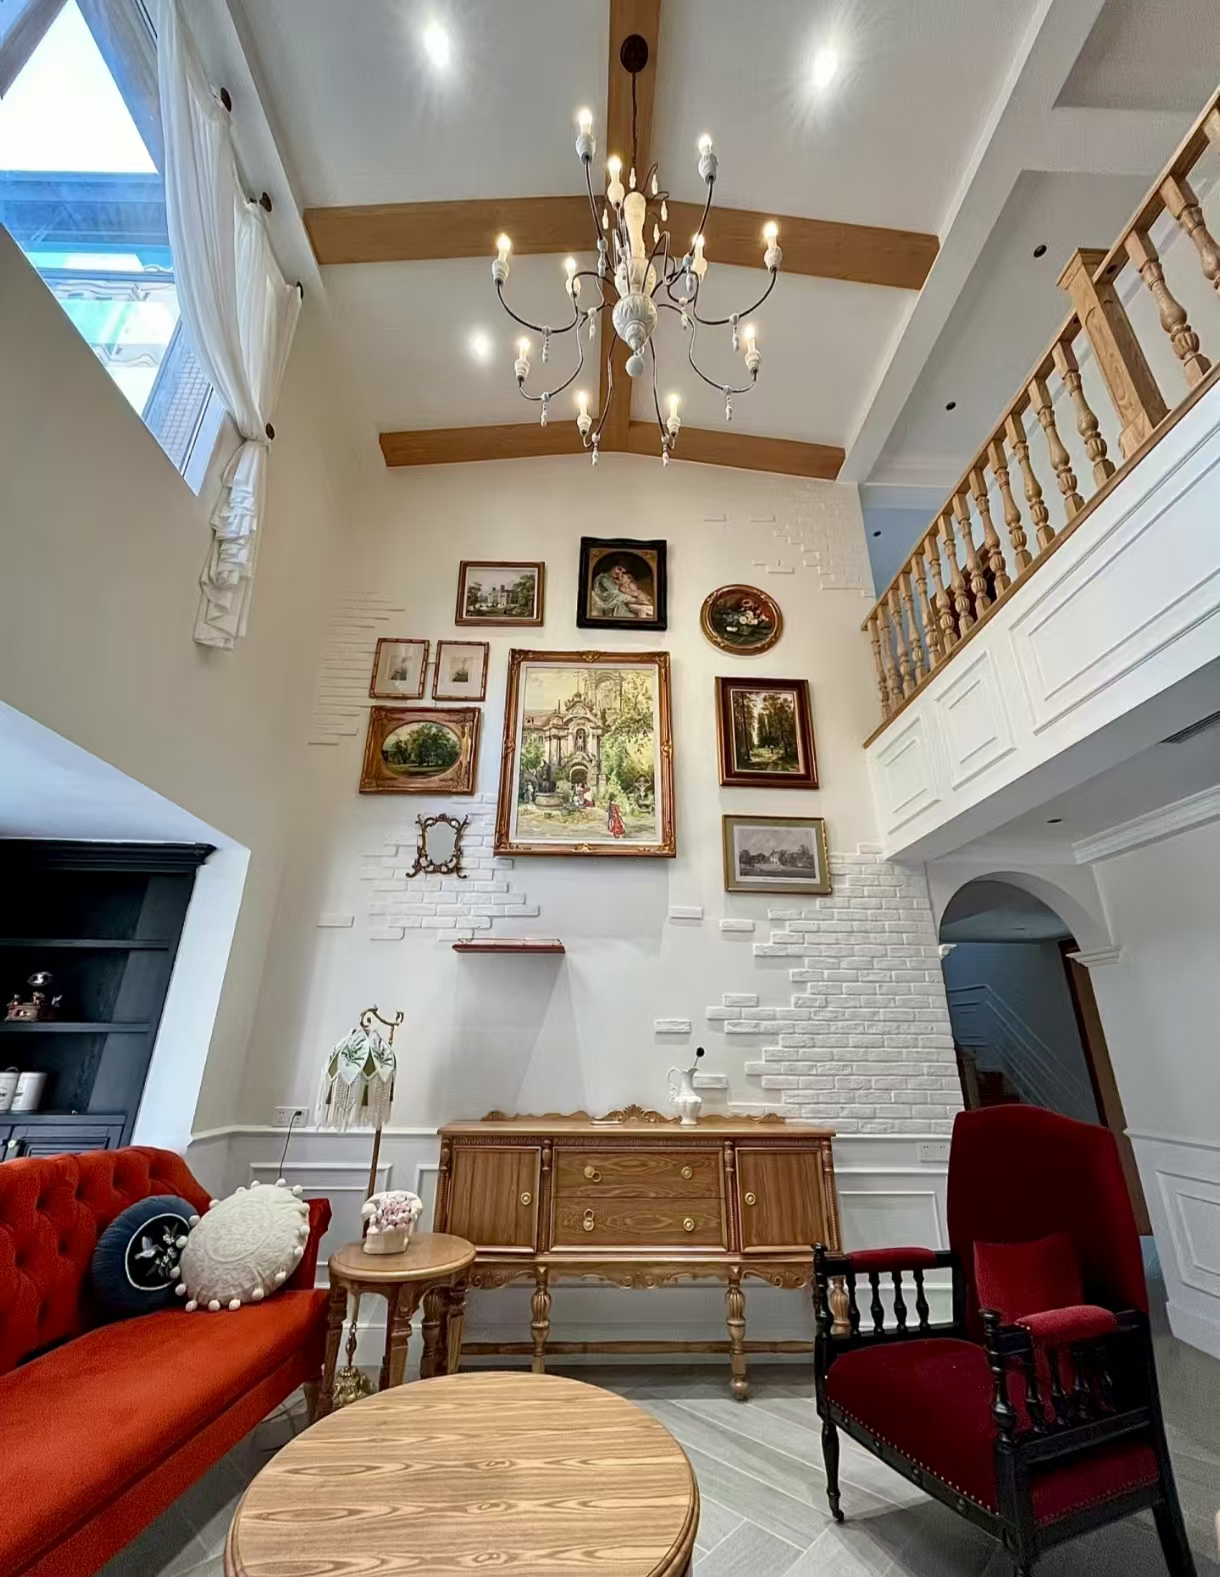
Displaying artwork can transform a space, and while standard wall hanging is common, suspending art high on a wall or from the ceiling can create a striking, unexpected effect. This approach is ideal for showcasing large pieces, creating dynamic installations above furniture, utilizing tall or narrow wall spaces, enhancing rooms with high ceilings, or incorporating sculptural elements.
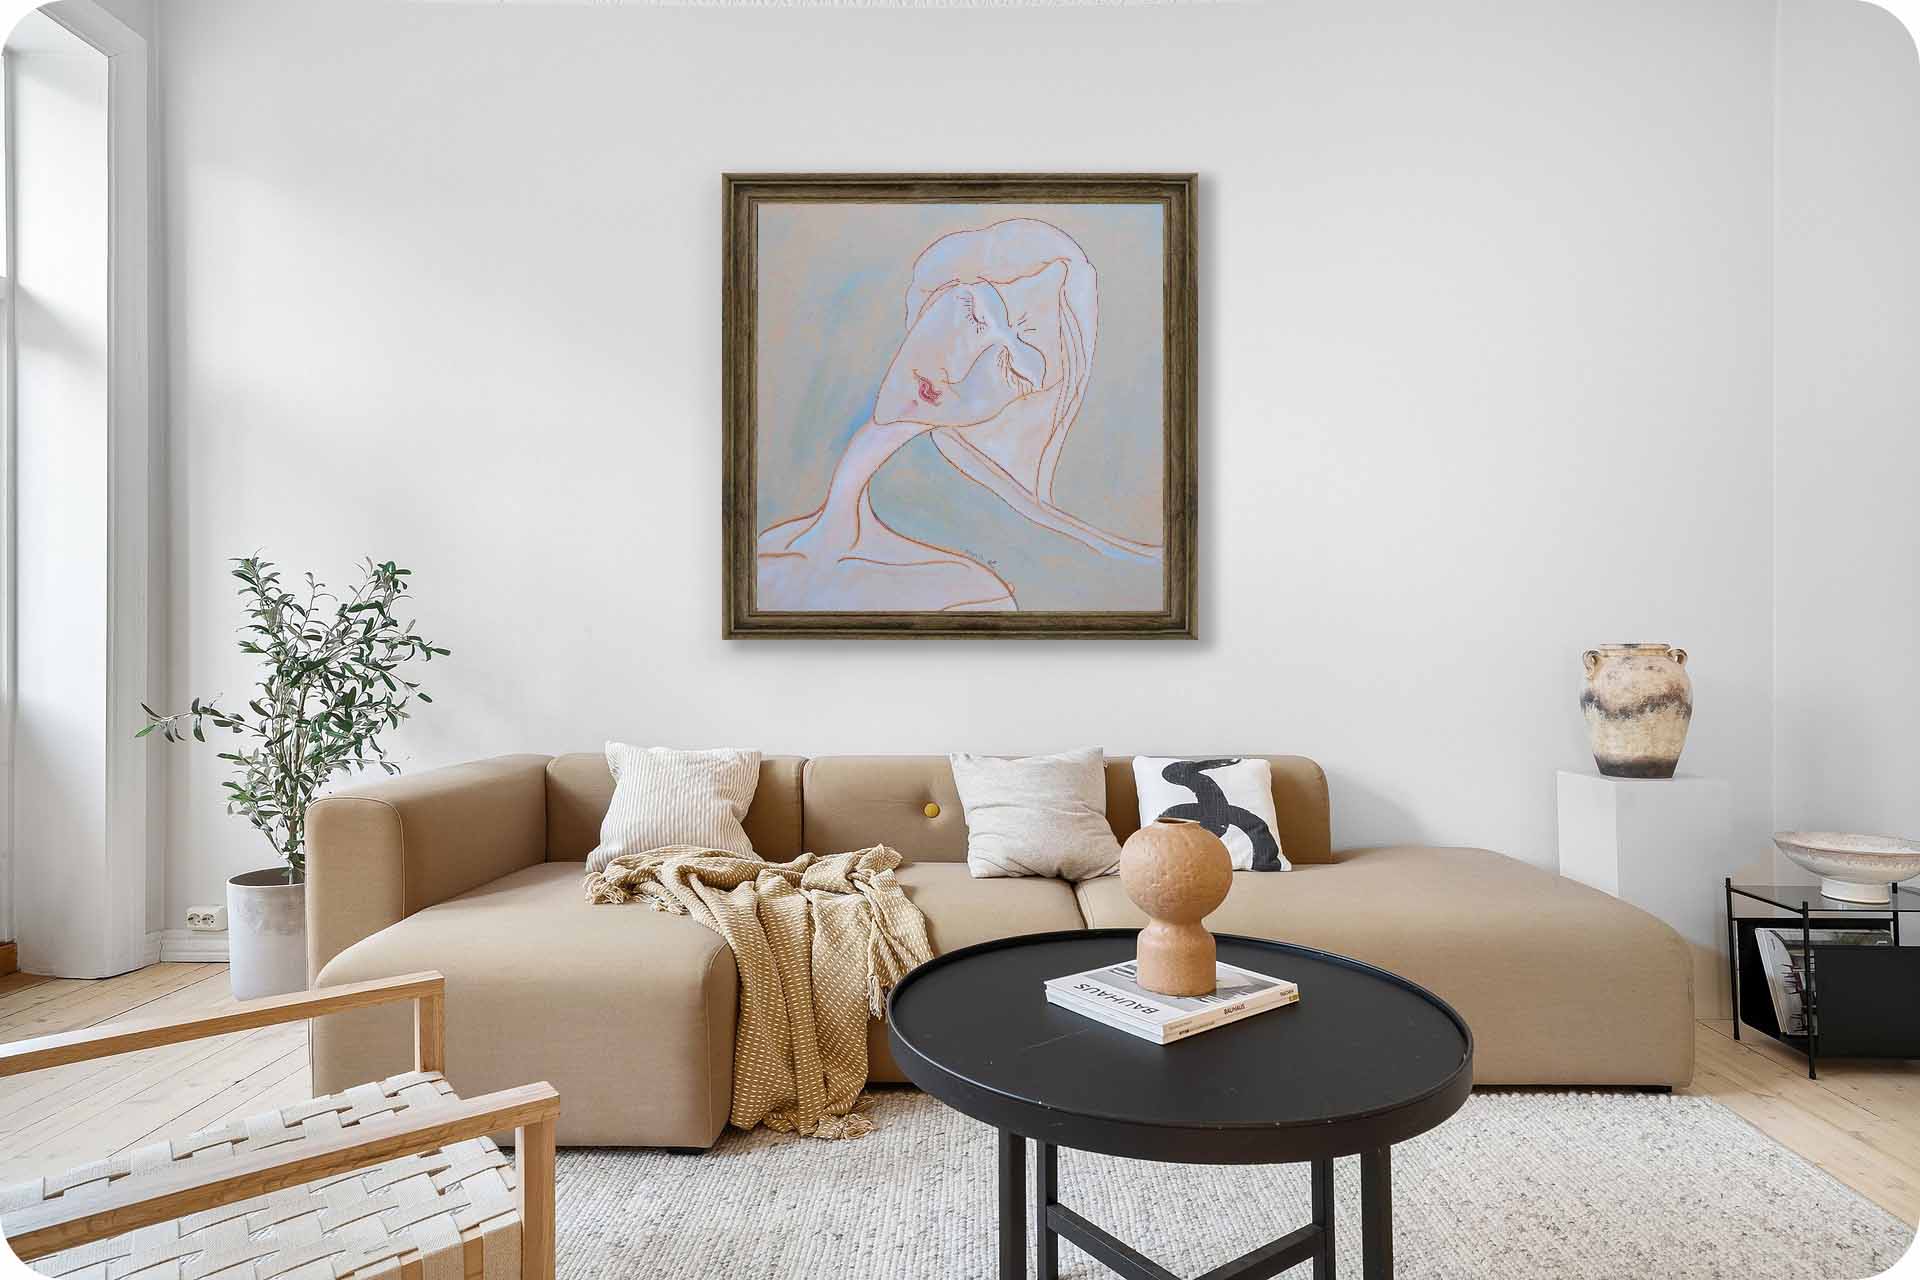
Before decorating, if you're new to art collecting, choose a piece that aligns with your space’s style and reflects your personality for a lasting visual impact.
This guide shares expert tips and essential tools to safely install artwork in high wall or ceiling placements.
Why Hang Art High on a Wall or from the Ceiling?
Hanging artwork at unconventional heights or from the ceiling adds drama and maximizes space. It’s perfect for:
• Highlighting oversized pieces.
• Creating floating installations above furniture.
• Utilizing vertical or narrow wall spaces.
• Adding depth to high-ceilinged rooms.
• Incorporating sculptural or mobile elements.
Step 1: Plan the Artwork Installation
Meticulous planning is key to ensuring your artwork is displayed beautifully and securely. Consider these factors:
• Choose the Optimal Position: Account for viewing angles, harmony with furniture and architectural features, and overall room balance.
• Determine Height: For wall-mounted pieces, center the artwork at 57-60 inches from the floor, adjusting higher for furniture or room proportions. For ceiling suspension, pinpoint the hanging point and desired drop length.
• Know Your Artwork: Record the weight and dimensions to select appropriate hardware.
• Assess the Surface: Identify wall or ceiling materials (e.g., drywall, concrete) and locate studs or joists with a stud finder to match suitable fasteners.
• Select Hanging Method: Choose wire, D-rings, cleats, or a ceiling system based on the artwork’s hardware and weight.
• Preview the Layout: Use paper templates or painter’s tape to mark positions, especially for grouped pieces, to avoid errors.
Step 2: Gather Tools and Materials
Prepare the right tools and hardware for a smooth installation:
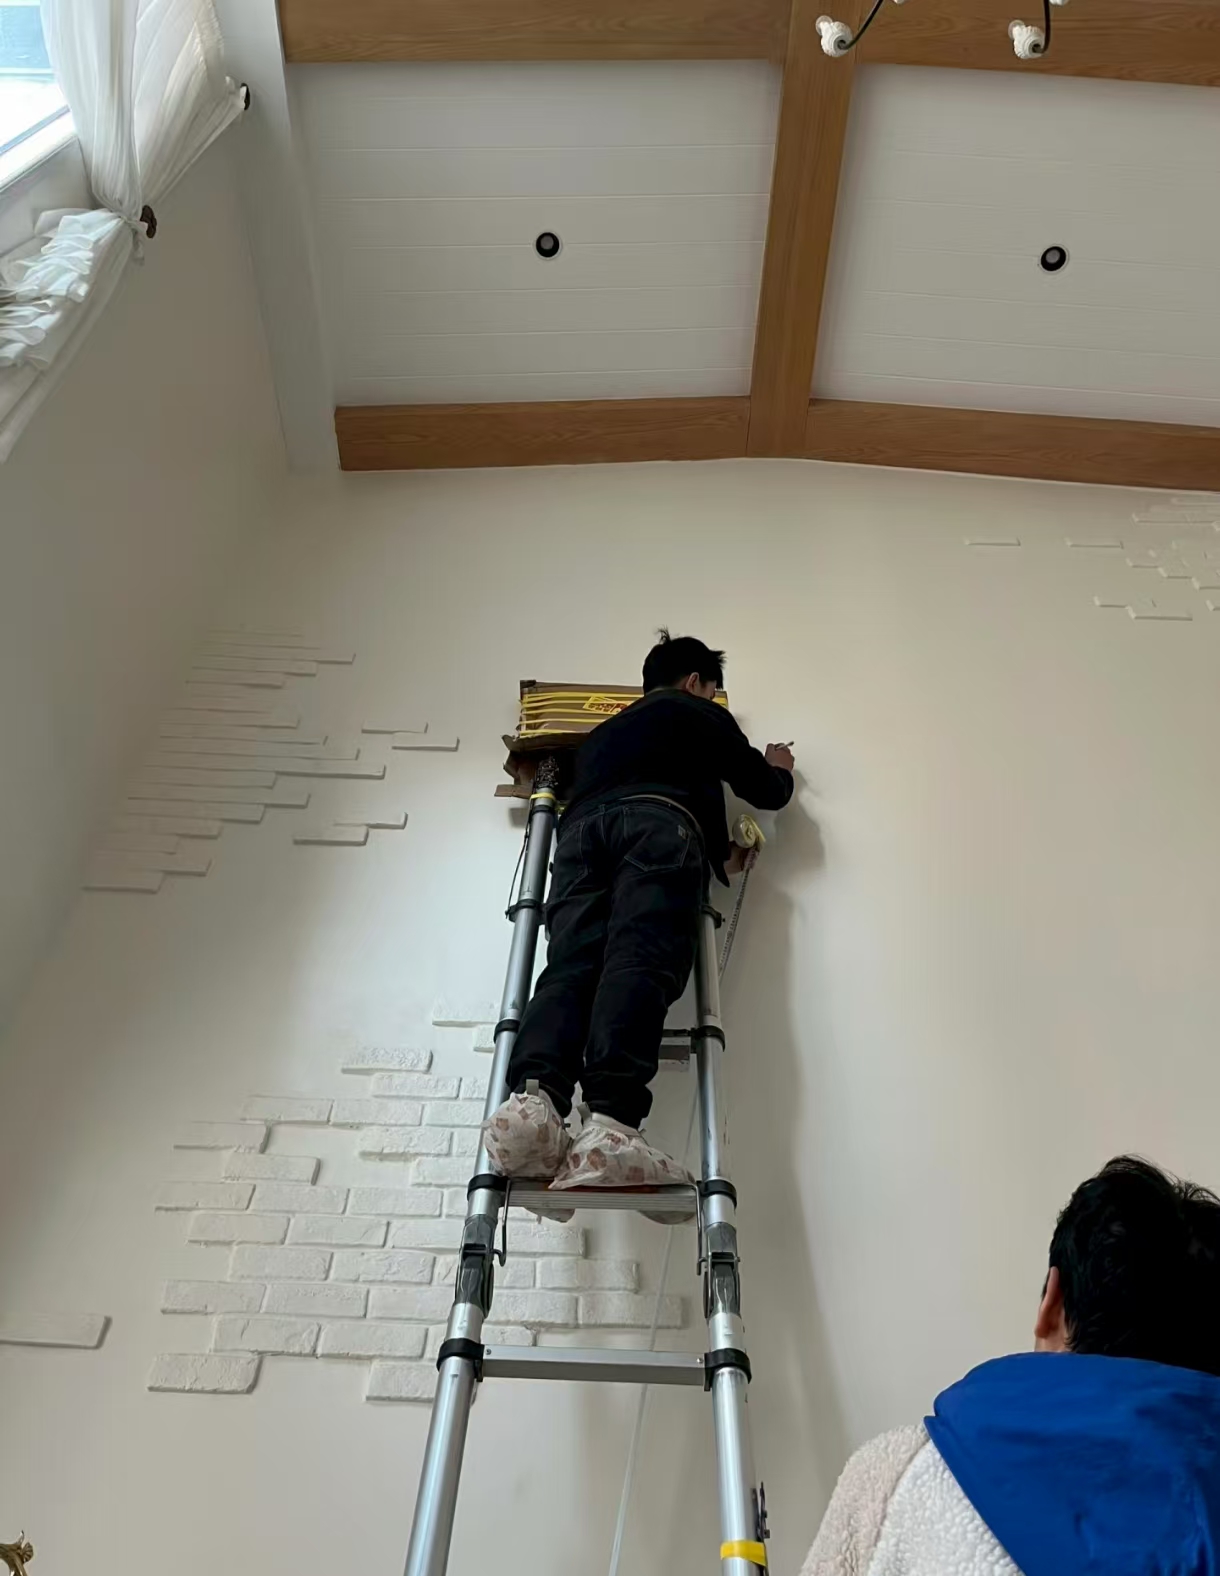
• Tools: Measuring tape, level (laser preferred for high placements), pencil, sturdy ladder, safety goggles.
• Hardware (based on surface and weight):
o Drywall/Plaster: Expansion bolts, toggle bolts, plastic anchors.
o Masonry: Lead anchors, concrete screws.
o Studs/Joists: Wood screws.
o Other: Rated ceiling hooks, picture wire/cable, D-rings/sawtooth hangers, French cleats, aircraft cable, or specialized hanging kits.
• Tip: Ensure hardware weight capacity significantly exceeds the artwork’s weight.
Step 3: Prioritize Safety
Safety is paramount at top installations. Check the ladder for stability and damage before starting, making sure it's on a level surface and all feet firmly in contact. Maintain three-point contact (two hands and a foot or two feet and a hand), never reaching beyond—move the ladder as needed.
Never stand on the top rung unless it’s specifically designed for that purpose. Watch for overhead hazards like wires, light fixtures, or ceiling fans—especially when drilling into ceilings. While working near electrical components, cut power to the area to prevent accidents.
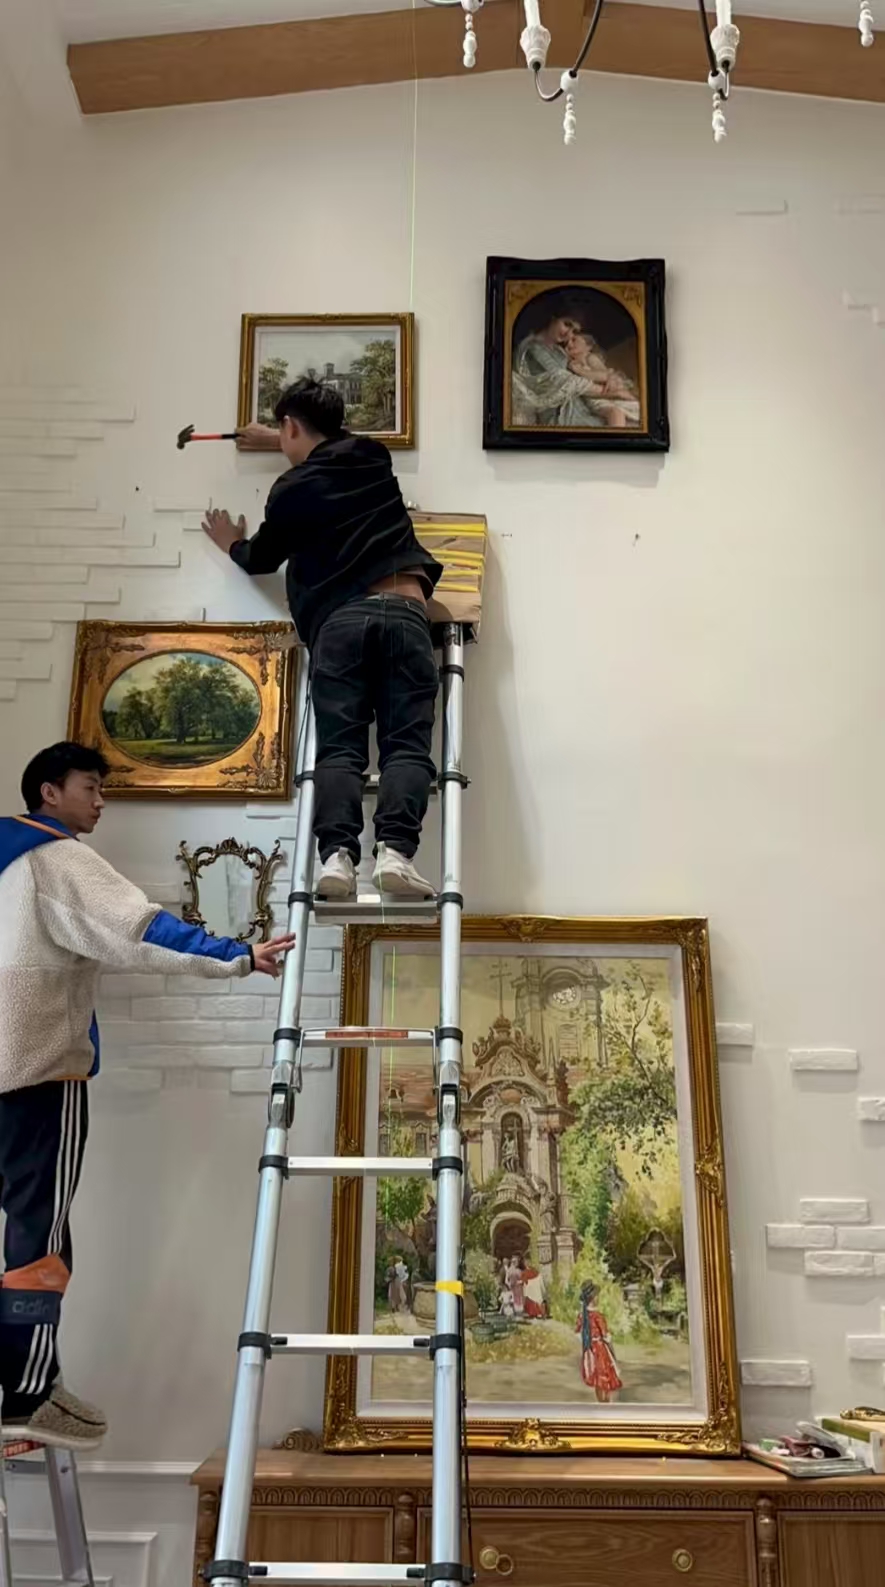
For large or heavy artwork, enlist a helper to assist with lifting and positioning. Always wear safety goggles while drilling to guard against dust and flying debris. Finally, make sure all hardware is strong enough to bear both the weight of the artwork and the material of the wall surface. Never hang heavy pieces using only drywall anchors—drive them into studs or joists for ultimate safety.
Step 4: Locate and Mark Precisely
Accurate marking is essential for both security and aesthetics. For wall-mounted pieces, measure from the floor to the artwork’s top or center, typically aiming for 57–60 inches.
If you’re using a wire system, measure from the taut wire to the top of the frame and add this to the intended top height to determine hook placement. For D-rings, measure from the ring to the top of the frame and subtract that from your desired height.
Use a level to create a horizontal reference line to provide evenness. For French cleats, place the top edge of the wall cleat exactly as marked.
For suspended ceiling pieces, find the joist with a stud finder and label the hardware's precise position. For group art or mobiles, label all spots in advance based on your plan of arrangement. Painter's tape is best for high visibility and simplicity in readjusting. Never drill without measuring twice.
Step 5: Install Secure Hardware
This is where your planning meets execution. For wall installations, if you’re securing to a stud (ideal for heavy pieces), drill a pilot hole slightly smaller than the screw shaft, then insert the screw, leaving enough length exposed for the hook or cleat.
If you’re using drywall or plaster anchors, drill a clean hole to match the anchor size, insert it fully, and then drive the screw or hook—be careful not to overtighten.
For French cleats, screw the wall cleat into studs with long screws, or cluster strong anchors where studs do not align. For ceiling suspension, drill into a joist and install a heavy-duty ceiling hook or eye bolt suitable for artwork weight. Use manufacturer's instructions for any suspension system. Final inspection: check that all hardware is sturdy and firm.
Step 6: Prepare the Artwork
Now it’s time to get the artwork ready for hanging. Attach D-rings or appropriate hardware on the back of the frame—usually one-third of the way down from the top—and ensure each piece is rated for the artwork’s weight.
In using wire, twist and thread it tightly between the D-rings, with just enough slack to allow hanging—make sure the wire does not rise above the top edge.
For ceiling-suspended works, tie cables or wires to suspension points with rated connectors like S-hooks, split rings, or carabiners. For knots, make them extremely strong and resistant to stress. For cleats, attach the corresponding cleat tightly at the frame's rear end. Make all the hardware connections tight.
Step 7: Execute the Hanging Process
This requires coordination and patience. Position the ladder firmly close to the place of installation. To install on walls, hold the art in both hands and carefully push the wire or D-rings on the hooks.
If using French cleats, align and lower the artwork’s cleat onto the wall cleat. For ceiling suspension, attach the cables to the hook or system—this may involve working with S-hooks or carabiners while elevated. Having a second person is critical here: one person should stabilize the ladder and artwork while the other makes the connections.
Once connected, align the piece to the correct height and position. Make any necessary adjustments to cable lengths for final placement. Avoid jerking motions or releasing the piece before it is in position.
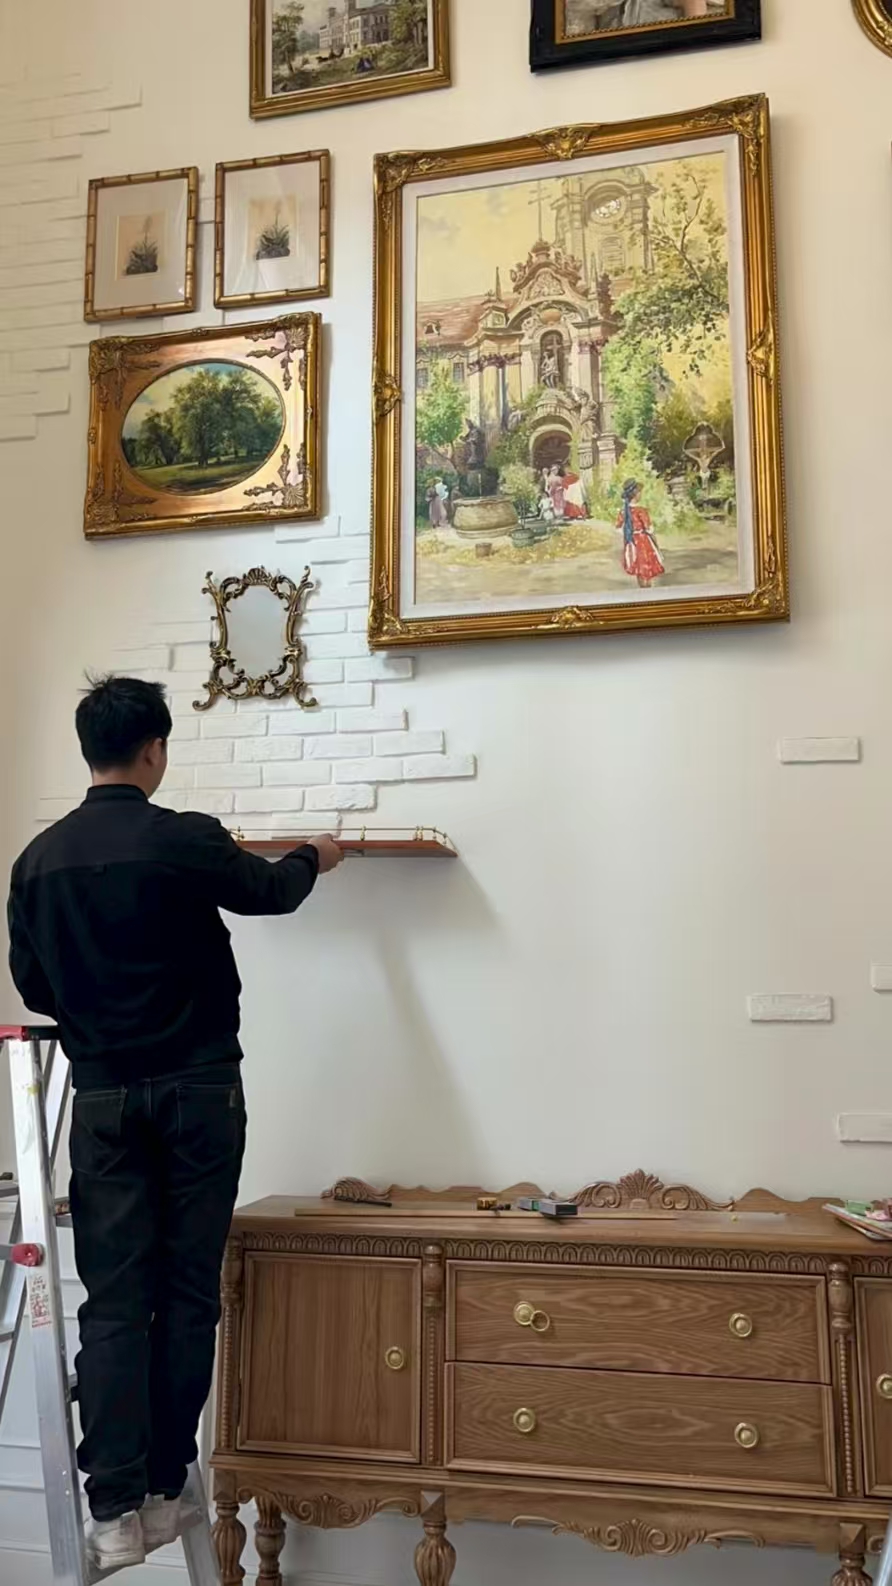
Step 8: Final Adjustments and Stability Check
Step forward and look at the overall picture. Carefully use the ladder to place down a level on the top of the frame. Lean slightly to the left or to the right to place the piece in the middle.
For suspended pieces, ensure cables are evenly adjusted so the piece sits level and at the desired height. Wall-mounted works should rest flat against the wall, without tilting forward.
Apply gentle pressure from different directions to check stability—there should be no wiggling, creaking, or movement. Inspect all connections: hooks, fasteners, carabiners, and knots. Confirm that the piece is clear of door swings, heat sources, and high-traffic zones. The final step: make sure every component is secure and poses no safety risks.
When curating your own gallery wall, take time to plan carefully and choose the right tools. We hope these tips have inspired you to create a space with personality and style.
Let your walls tell your story through thoughtfully displayed art.
If you're looking for more original artwork, feel free to visit my gallery. Unleash your inner interior designer and enjoy the joy of decorating!
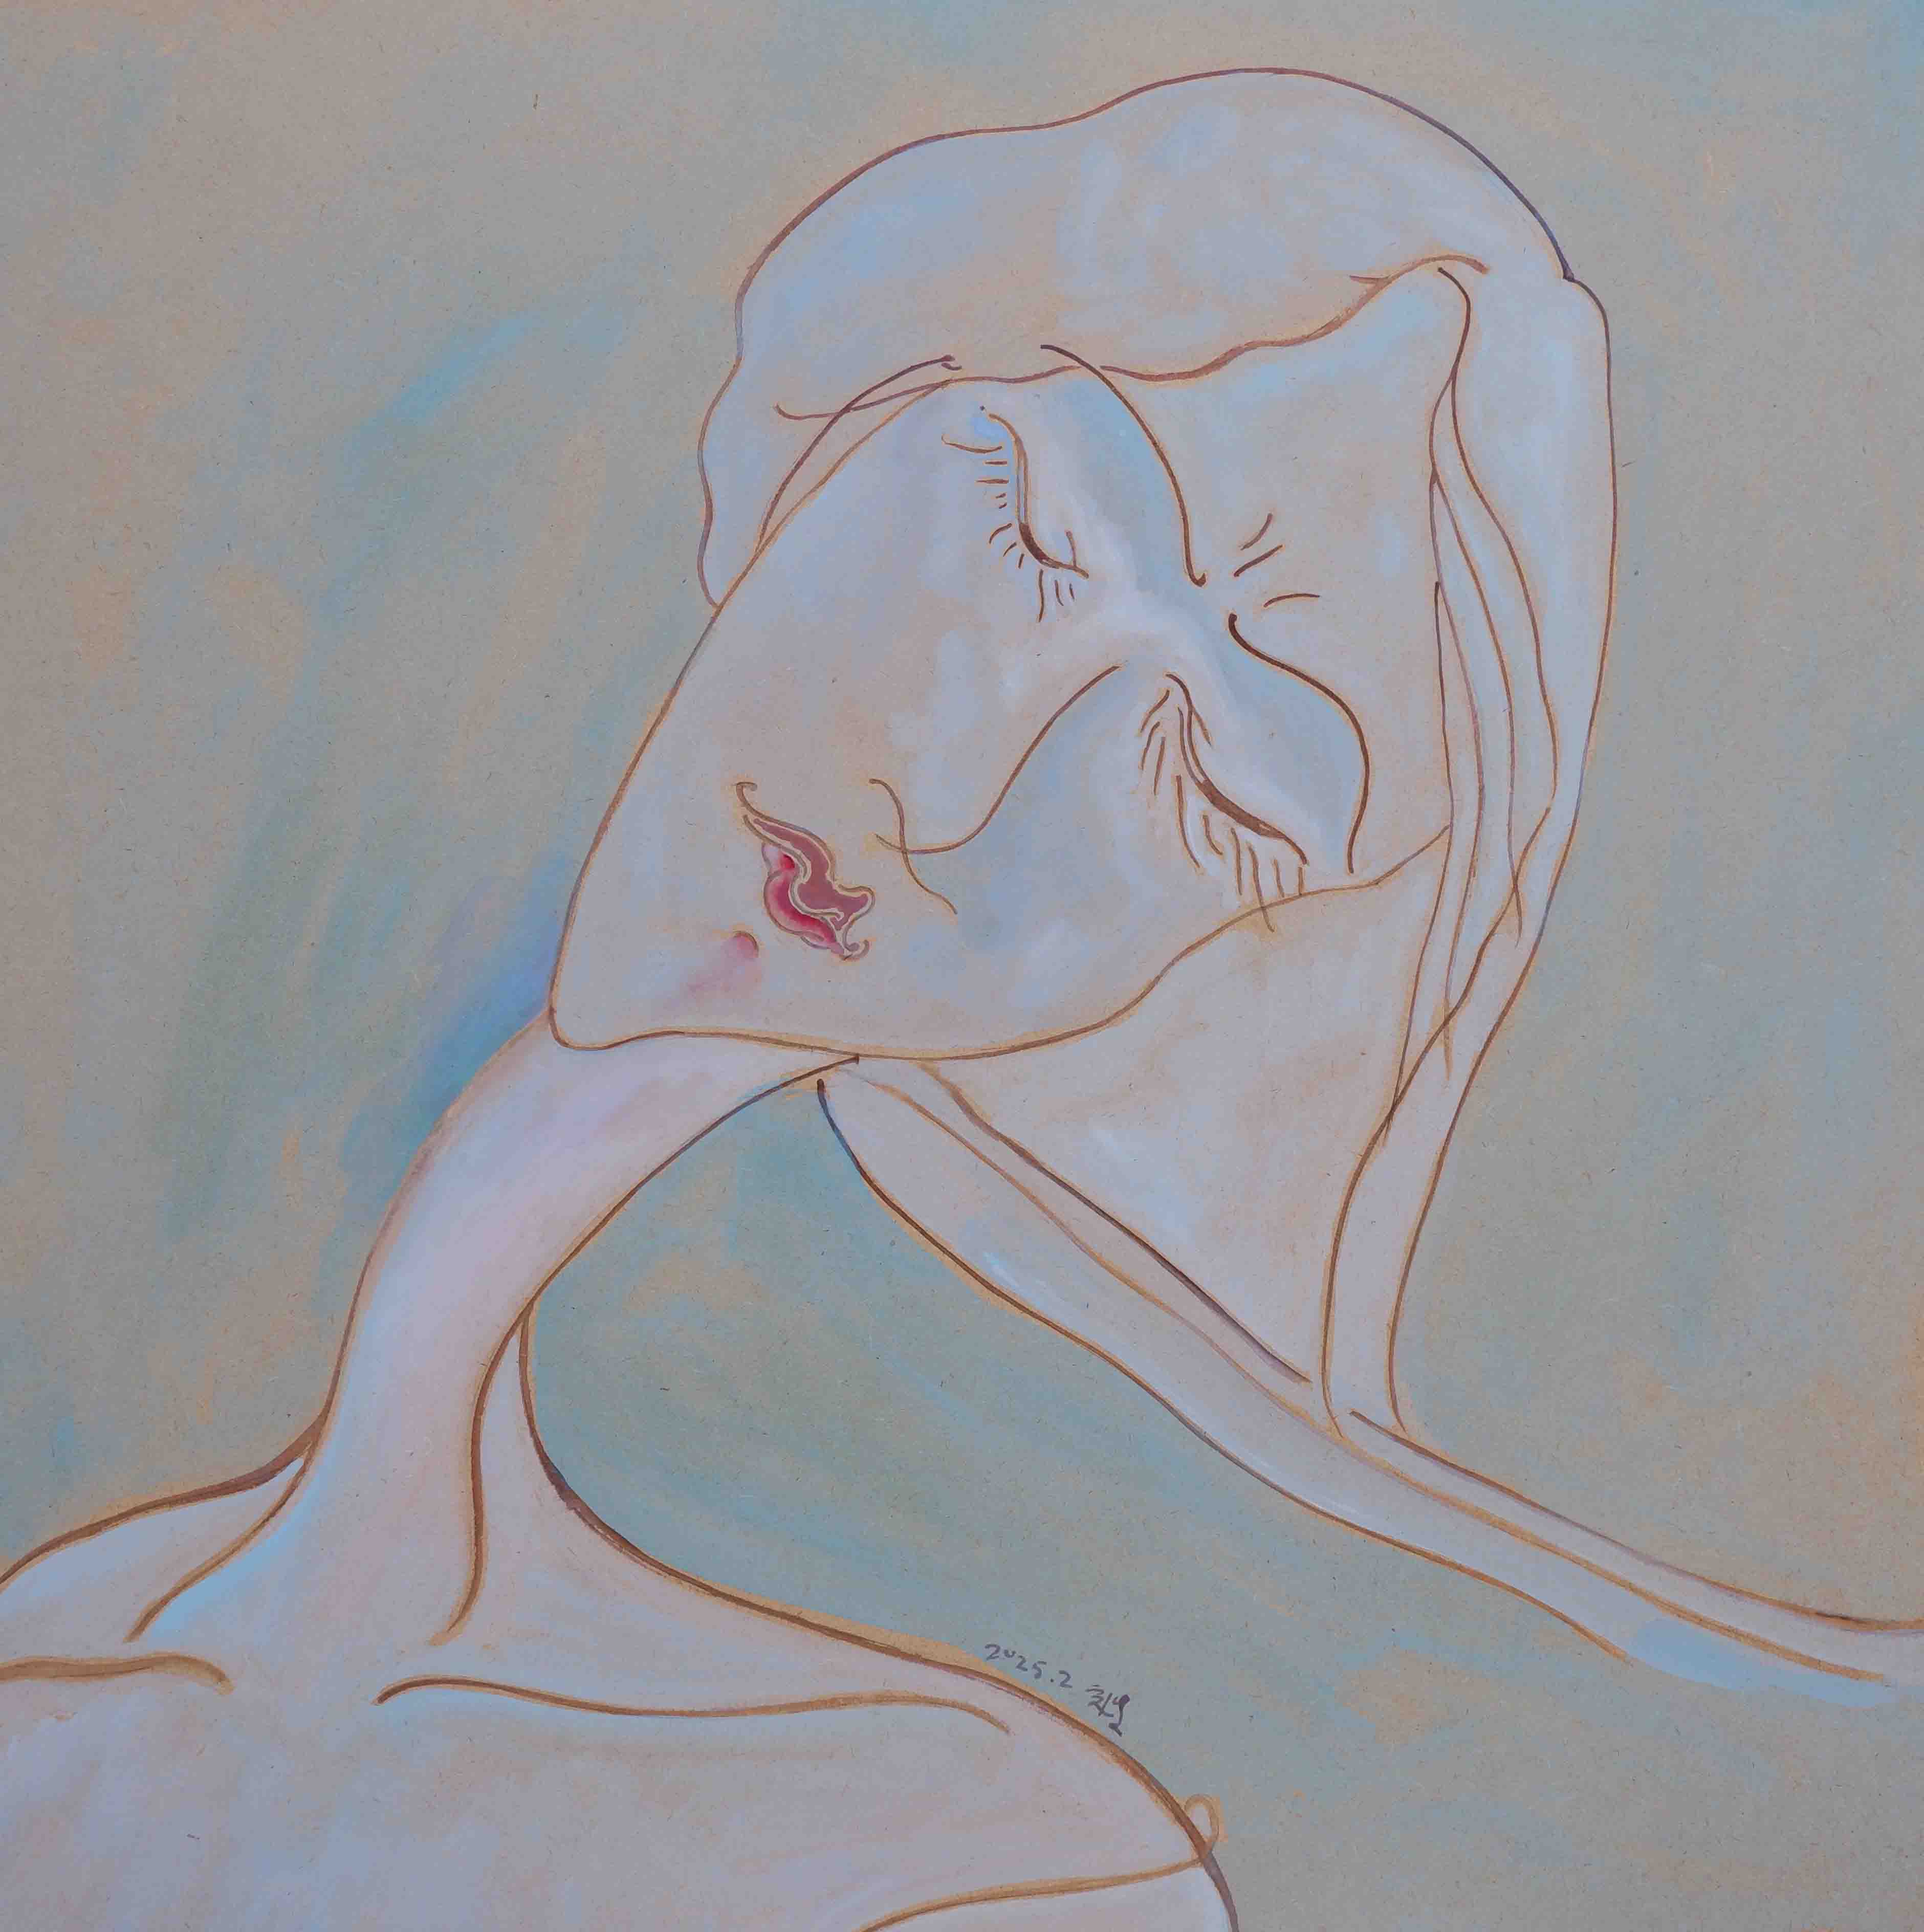
Hi, I’m Philo, a Chinese artist passionate about blending traditional Asian art with contemporary expressions. Through Artphiloso, my artist website, I share my journey and creations—from figurative painting and figure painting to floral oil painting and painting on landscape. You'll also find ideas for home decorating with paint and more.
FAQ
How high should I hang pictures on a wall?
Hang the center of the artwork at about 57–60 inches (145–152 cm) from the floor.
How do you hang pictures on a wall?
Use hooks, D-rings, or wire, and secure to studs for heavy pieces. Always check level and spacing.
How do you hang things from the ceiling?
Use ceiling hooks or eye bolts drilled into joists, with wire or cables rated for the artwork's weight.
Where is the place with paintings on the ceiling?
The Sistine Chapel in Vatican City is the most famous. Ceiling art also appears in palaces and temples.
Can I hang art on tall or narrow walls?
Yes—vertical spaces are great for stacked art or hanging a single tall